when i saw the
boomcase on the internet i thought to myself "hey, i can do that!"
i started looking up what pieces i'd need in order to create some sort of suitcase boombox, i even had a spreadsheet. when it was all said and done, my spreadsheet had about $100 worth of components, and that didn't even include the suitcase. this is when i thought to myself, do i really want a $100+ portable boombox? what would i use it for? and that's when the idea was put on the shelf.
it wasn't until my brother told me that he saw one of the smaller boomcase listed in a store for $700. he said he wanted one for bay2breakers and for burning man, and that $700 was just a bit too much for him to spend. that's when i told him that i have wanted to make one for a while, but didn't have a dying need to own one.
he said he'd pay for parts, if build it! to me that was a win, for him it was a definite win. i used the dayton audio dta-2 amp, which was $20 and very small and light. it uses very little power and sounds great, the one drawback is that as you get close to max power, the sound quality gets horrible.
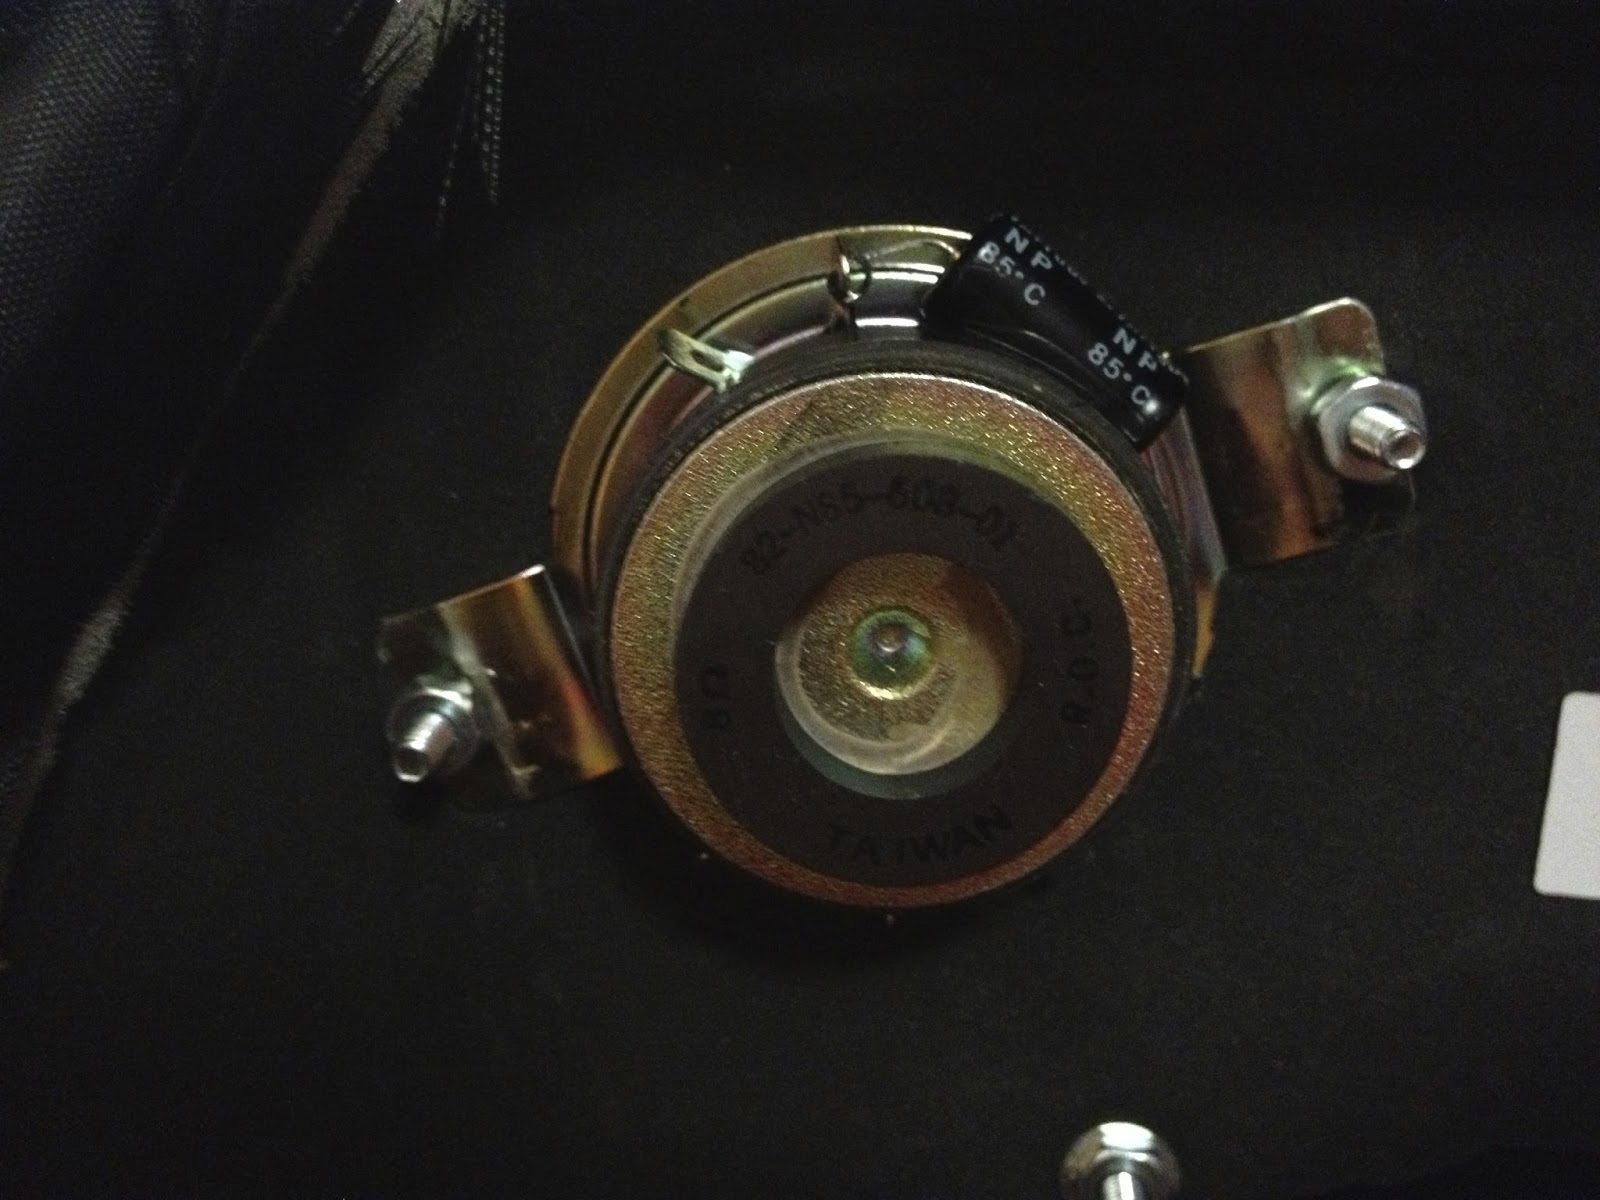
i was able to salvage the drivers from my old aiwa mini system. the system i got for xmas when i started highschool. somehow i had the speakers lying around, and i'm glad i did. they helped keep the cost down.
i did the electronics first, to make sure i had everything soldered and wired correctly.
then i cut some holes in a box and mounted the drivers to get an idea of how things would sound when the speakers were mounted. it worked great, i was about to tape the box shut and call it a day!
i made a few templates for the driver placement.
one driver installed.
and the second driver installed. sonically it's better to have these speakers side by side, but we're not making an audiophile listening setup here, this is portable audio.
i made a paper template that i used to make sure the tweeters would be mounted symmetrically.
this hard case backpack used a thin plastic shell over a thicker foam. while using the dremel to cut the tweeter holes i nicked the plastic, which you can see on the lip of the hole. next time i'll buy tweeters that have a baffle that covers the edge of the hole similar to how the larger drivers mount.
there was a decent amount of soldering for this project, but nothing that a beginner couldn't handle. this was my solder setup.
all four drivers mounted.
a peek inside...
this is a regular headphone jack, where the music goes into the backpack. this way you can hook up a smartphone, ipod, or anything else that uses the 3.5mm stereo headphone jack. the knob is on/off as well as volume.
for protection i mounted a few speaker grills over the woofers, per my brother's request.
this blue led lets you know when the amp is turned on
it runs on 8 aa batteries, but can also be plugged into the wall with an included ac adapter wall wort. on full charge batteries i've hit about 6hrs of playback at 1/2 volume. not shabby!
i ended up spending $122 in total and early on he said he wanted a backpack instead of a suitcase so his hands would be free. so this is what i created. i have to say it was a fun project, i just may do it again... i did pick these up from the antique fair


4 comments:
it was very valuable for bay 2 breakers!!
so cool! i'm very impressed.
I tried to pass it off that I got something in my eye. But Stacey knew I was really crying tears of engineering joy. Nicely done.
What do you know about Raspberry Pi?
Post a Comment