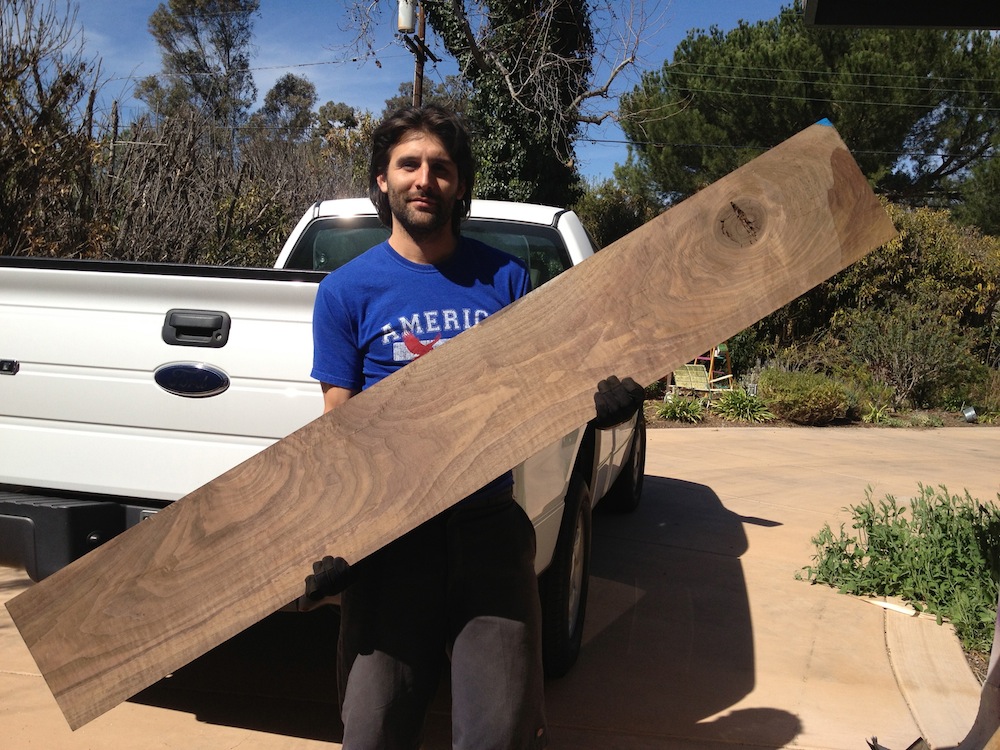
the last piece of wood i needed was a stretcher. the stretcher is the piece that goes between the legs, acting like a brace. i wanted a big beefy stretcher to match the thick slabs of wood that make up the rest of the table. this piece is a bit over 6 feet long, 11 inches wide, and 2 inches thick. i'll only be using about 4 feet of this beautiful walnut piece.
with the glue dry, we took the clamps off the table top and started determining the table height. it's amazing how used to standard heights we are. roughly dining tables are 30" tall, counters are 36" tall, and bars are 42" tall. i sat at every table in my parents house, and even put some of the tables on bricks in order to experience the difference between heights.
i ended up choosing a 32" table height. 32" is tall for a table, but my table is going to be substantial, and i want it to feel that way. next up we toyed with exactly where the legs should go.
at first this table will be my desk. it'll be up against the wall with computer monitors, speakers, and other electronic devices sitting all around. but it may not always be a desk, and in the case that it needs to serve as a table, we wanted to make sure that we could maximize the function. we figure 6 people could squeeze at the table for a casual meal.
on a little bit of a tangent, i took a small piece of walnut and cut it to the same size as the mulberry spline. this is simply cosmetic, and will be cut flush to the end of the table when the glue has cured fully. as of now the table is only black oak and walnut, introducing another wood, even just a small spline reveal, loses consistency. so this is a cover up, only i'll truly know all the woods that make up this desk!
because we didn't plane the underside of the table top, the surface remains very rough and wavy. mounting legs to an uneven surface isn't an option, so we made this sled for our router. the piece in the middle is about 3" wide.
we put the sled where we want the leg to attach to the bottom of the table, and used shims to get it nice and level.
with a few quick passes of the router, we've got a nice flat place for the legs to attach to the table.
hard work like this deserves a craft beer and a nice cigar. cheers!
link to part 6


0 comments:
Post a Comment