the top was designed to be routed so that the granite would simply sit inside of a mulberry frame. a piece of granite this size can easily exceed 60lbs, so this frame needed to be strong. i also like the look of a thick frame on the top, giving the credenza a bit more of a masculine design.
these two pieces were selected for the top. the wide piece was ripped (cut in half long-ways) for the front and back pieces, the thinner piece was cut in half for the two side pieces.

after cutting the pieces to size, it was time to make the mortise and tenon joints. this joint is one of the strongest joints in woodworking. we used a router to make the mortise holes, and a dado blade on the table saw to make the tenons. we left the dado blade on the table, as we'd be using it for the legs once we were finished with the top.


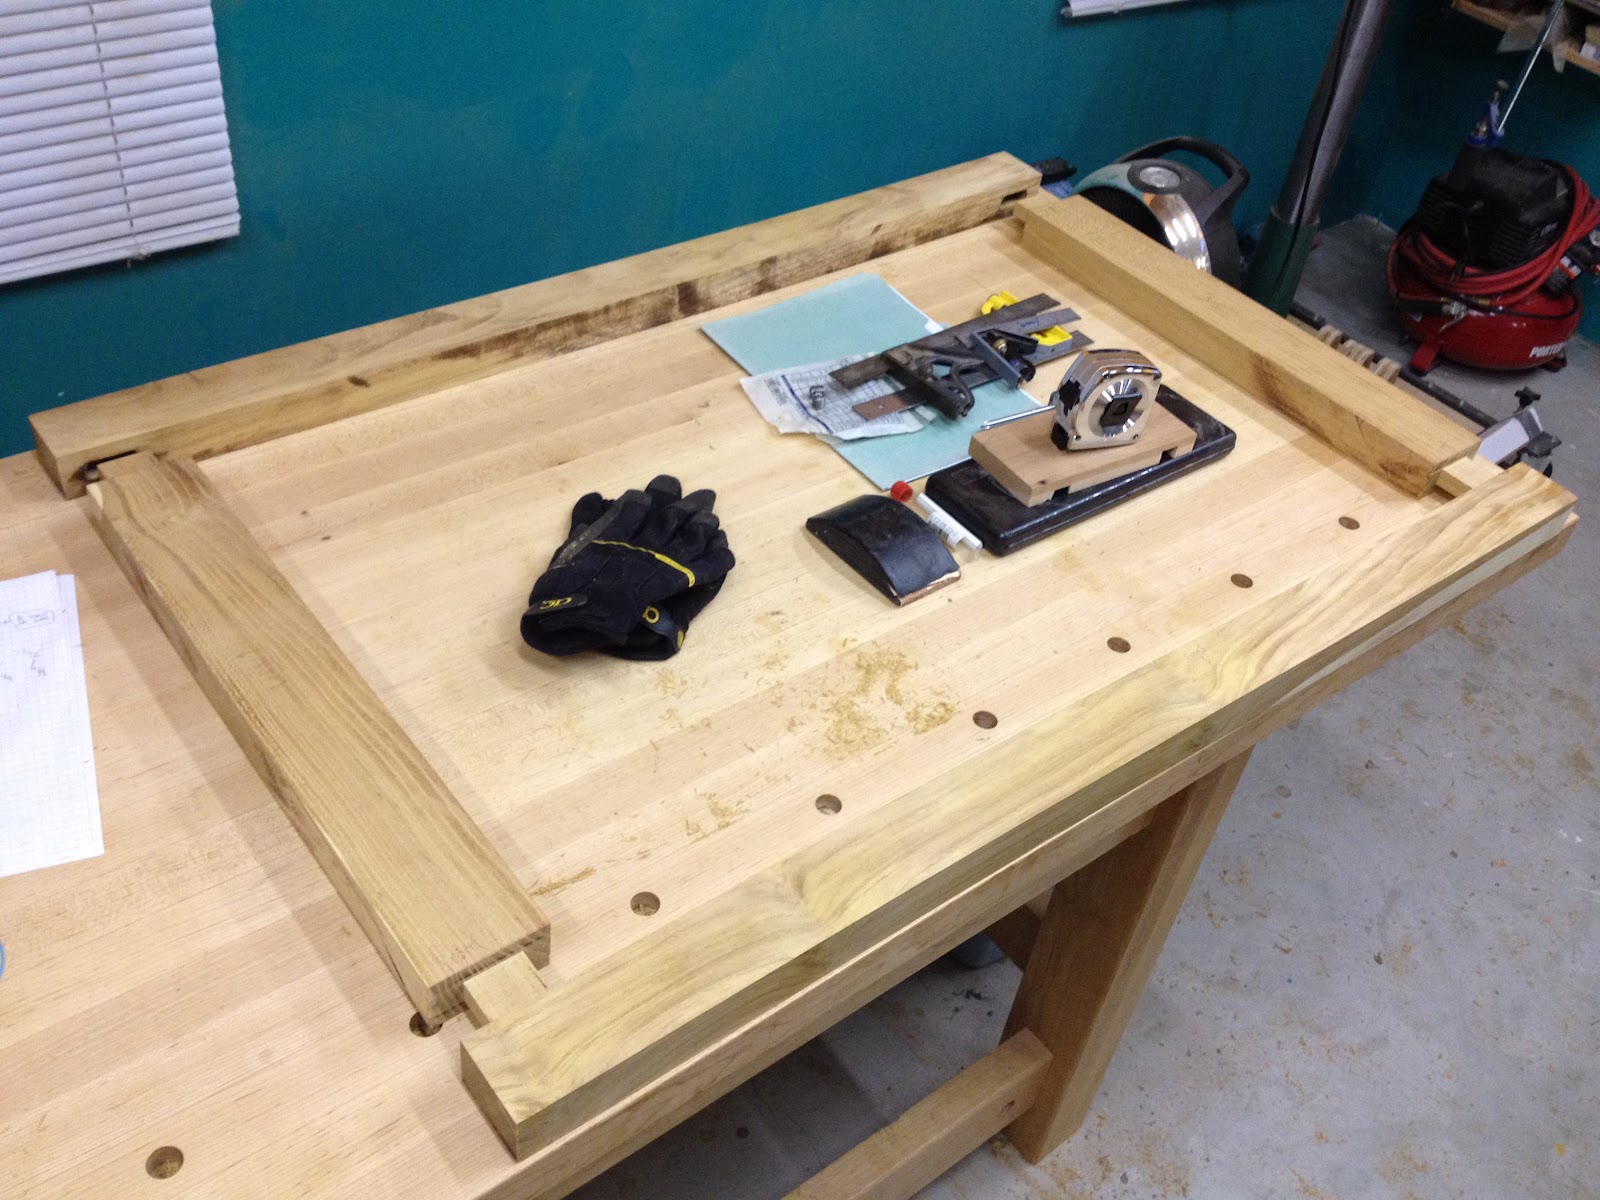
here's a shot of the top before we attempt a dry fit. notice that the mortise (holes) are somewhat rounded and the tenons are very square. we had to hand chisel the tenons to fit the mortise, as the dado blade doesn't cut rounded tenons, and the router doesn't cut square holes. mortise and tenons are very strong, but also very labor intensive.
next up, the legs. legs were cut to minimise the loss of wood, so the cross section of the legs is not exactly square. not only did we mitigate waste of wood, we also were able to use the wider face of the legs to make the credenza's front appear to have wider and stronger legs.
the legs cut. notice how yellow some of the mulberry wood is. the white portion of the wood is referred to as sapwood, and part of the fun for me was strategically making cuts when possible to position the sapwood in desired places.

we then ran the legs through the dado blade, which is basically a very thick table saw blade. the result is a deep groove down the entire length of the leg. the reason we did this will be seen later when the legs are attached with sheets of walnut ply.

the back legs have two dado cuts, where as the front legs only get one dado cut. the front legs will get mortise and we'll make two braces that connect the front legs and form the credenza's front face. this was done because the front is not the same as the sides and the back, which only have solid ply between the legs. the front is how you are able to access the shelves and hang the doors.
here's a tenon that is in the middle of being cut to fit the mortise.

i always keep my notes nearby, and document changes to the plans if there are any. sometimes things don't work out exactly as planned, so being able to make design change decisions on the spot is necessary. "all brilliant designs start out on a napkin" my dad often says. (note the napkin)


with the second round of mortise and tenons complete, we dry fit the front frame.

after dry fitting the front frame, i had to see what the top plus front frame would look like. the table saw helped hold up the back of the credenza top while the front frame held up the front of the top.

this was the first time the shape of the credenza would be seen. so far so good.


1 comments:
AWESOME that you went mortise and tenon!
So difficult but the piece will last forever!
Gonna be epic!
Post a Comment