with the top glued up, and the location of where the legs are to be mounted nice and spot faced, it's time to get working on some legs. you've heard the phrase "measure twice cut once"? we measure 5-6 times, we chalk it up, we draw it out on paper a few times, then we line up the cut, and quickly review our chalk and paper, then we cut. and still there are times we goof it up.
these beautiful pieces of crotch walnut are also bookmatched. you can see the piece on the left has been planed and cleaned up, the piece on the right has not. but just imagine the saw going right through this piece, the cracks line up, and so do all other patterns.
here's a rough idea how the leg will look mated to the stretcher, of course this is upside down and the legs have to be trimmed yet.
so back to the router we go. the fences are set and clamped so that we cut exactly the width of our stretcher.
here's a router level view of the action.
we made the mortise 7/8 of an inch deep, plenty of contact area for strength.
this was a quick trial to see if everything was as we expected, since the stretcher is finished lumber the dimensions are similar enough to this piece that substitution was acceptable. the actual stretcher needs to be cut still, and will be more than twice this length.
it turns out our sled wasn't big enough, and the legs didn't quite fit. after a few minutes with the palm router we were set.
we measured the stretcher, and cut it to dimension, then set up the legs for another dry fit.
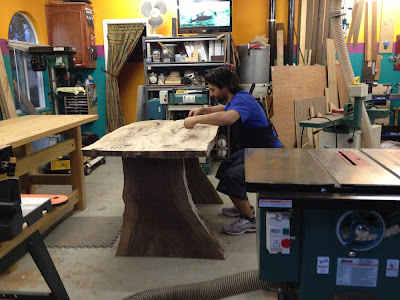
the stretcher fit perfectly into our mortise. with the base firmly in place, the only logical next step is to set the table top on and take tons of pics!!!
strike a pose with the table during the first time ever that it is assembled
link to part 7


0 comments:
Post a Comment